
Caramel Ganache Recipe: Perfect Filling for Your Desserts
Caramel ganache transforms ordinary desserts into extraordinary treats. This rich, smooth mixture combines chocolate, cream, and caramel into a versatile filling that elevates everything it touches.
Whether you want to fill chocolates, frost cakes, or create decadent dessert toppings, mastering caramel ganache opens up endless possibilities in your kitchen.
Our complete caramel ganache recipe guide will walk you through choosing ingredients, mixing techniques, and creative ways to use it From basic steps to professional tips, you’ll learn everything you need to make the perfect caramel ganache recipe every time.
Contents
The Ingredients You’ll Need for Caramel Ganache
Recipes are everywhere, and there are countless combinations that you can use. However, there are some basic ingredients that are pretty much irreplaceable:
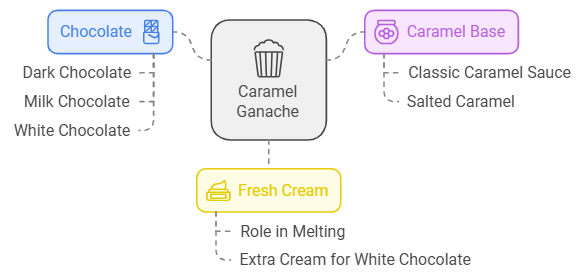
Choosing Your Chocolate
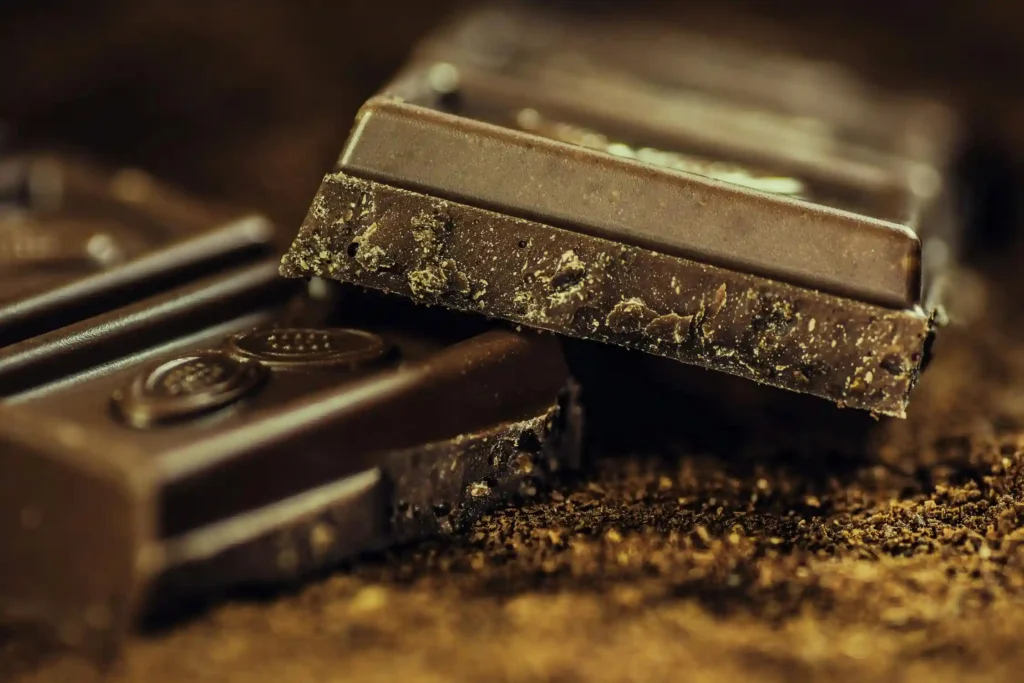
Every great caramel ganache starts with excellent chocolate. Dark chocolate with 60% cocoa content provides intense flavor and plenty of cocoa butter for a silky texture.
Milk chocolate creates a sweeter, creamier ganache that children love. White chocolate pairs beautifully with salted caramel, creating a buttery-sweet combination.
The Perfect Caramel Base
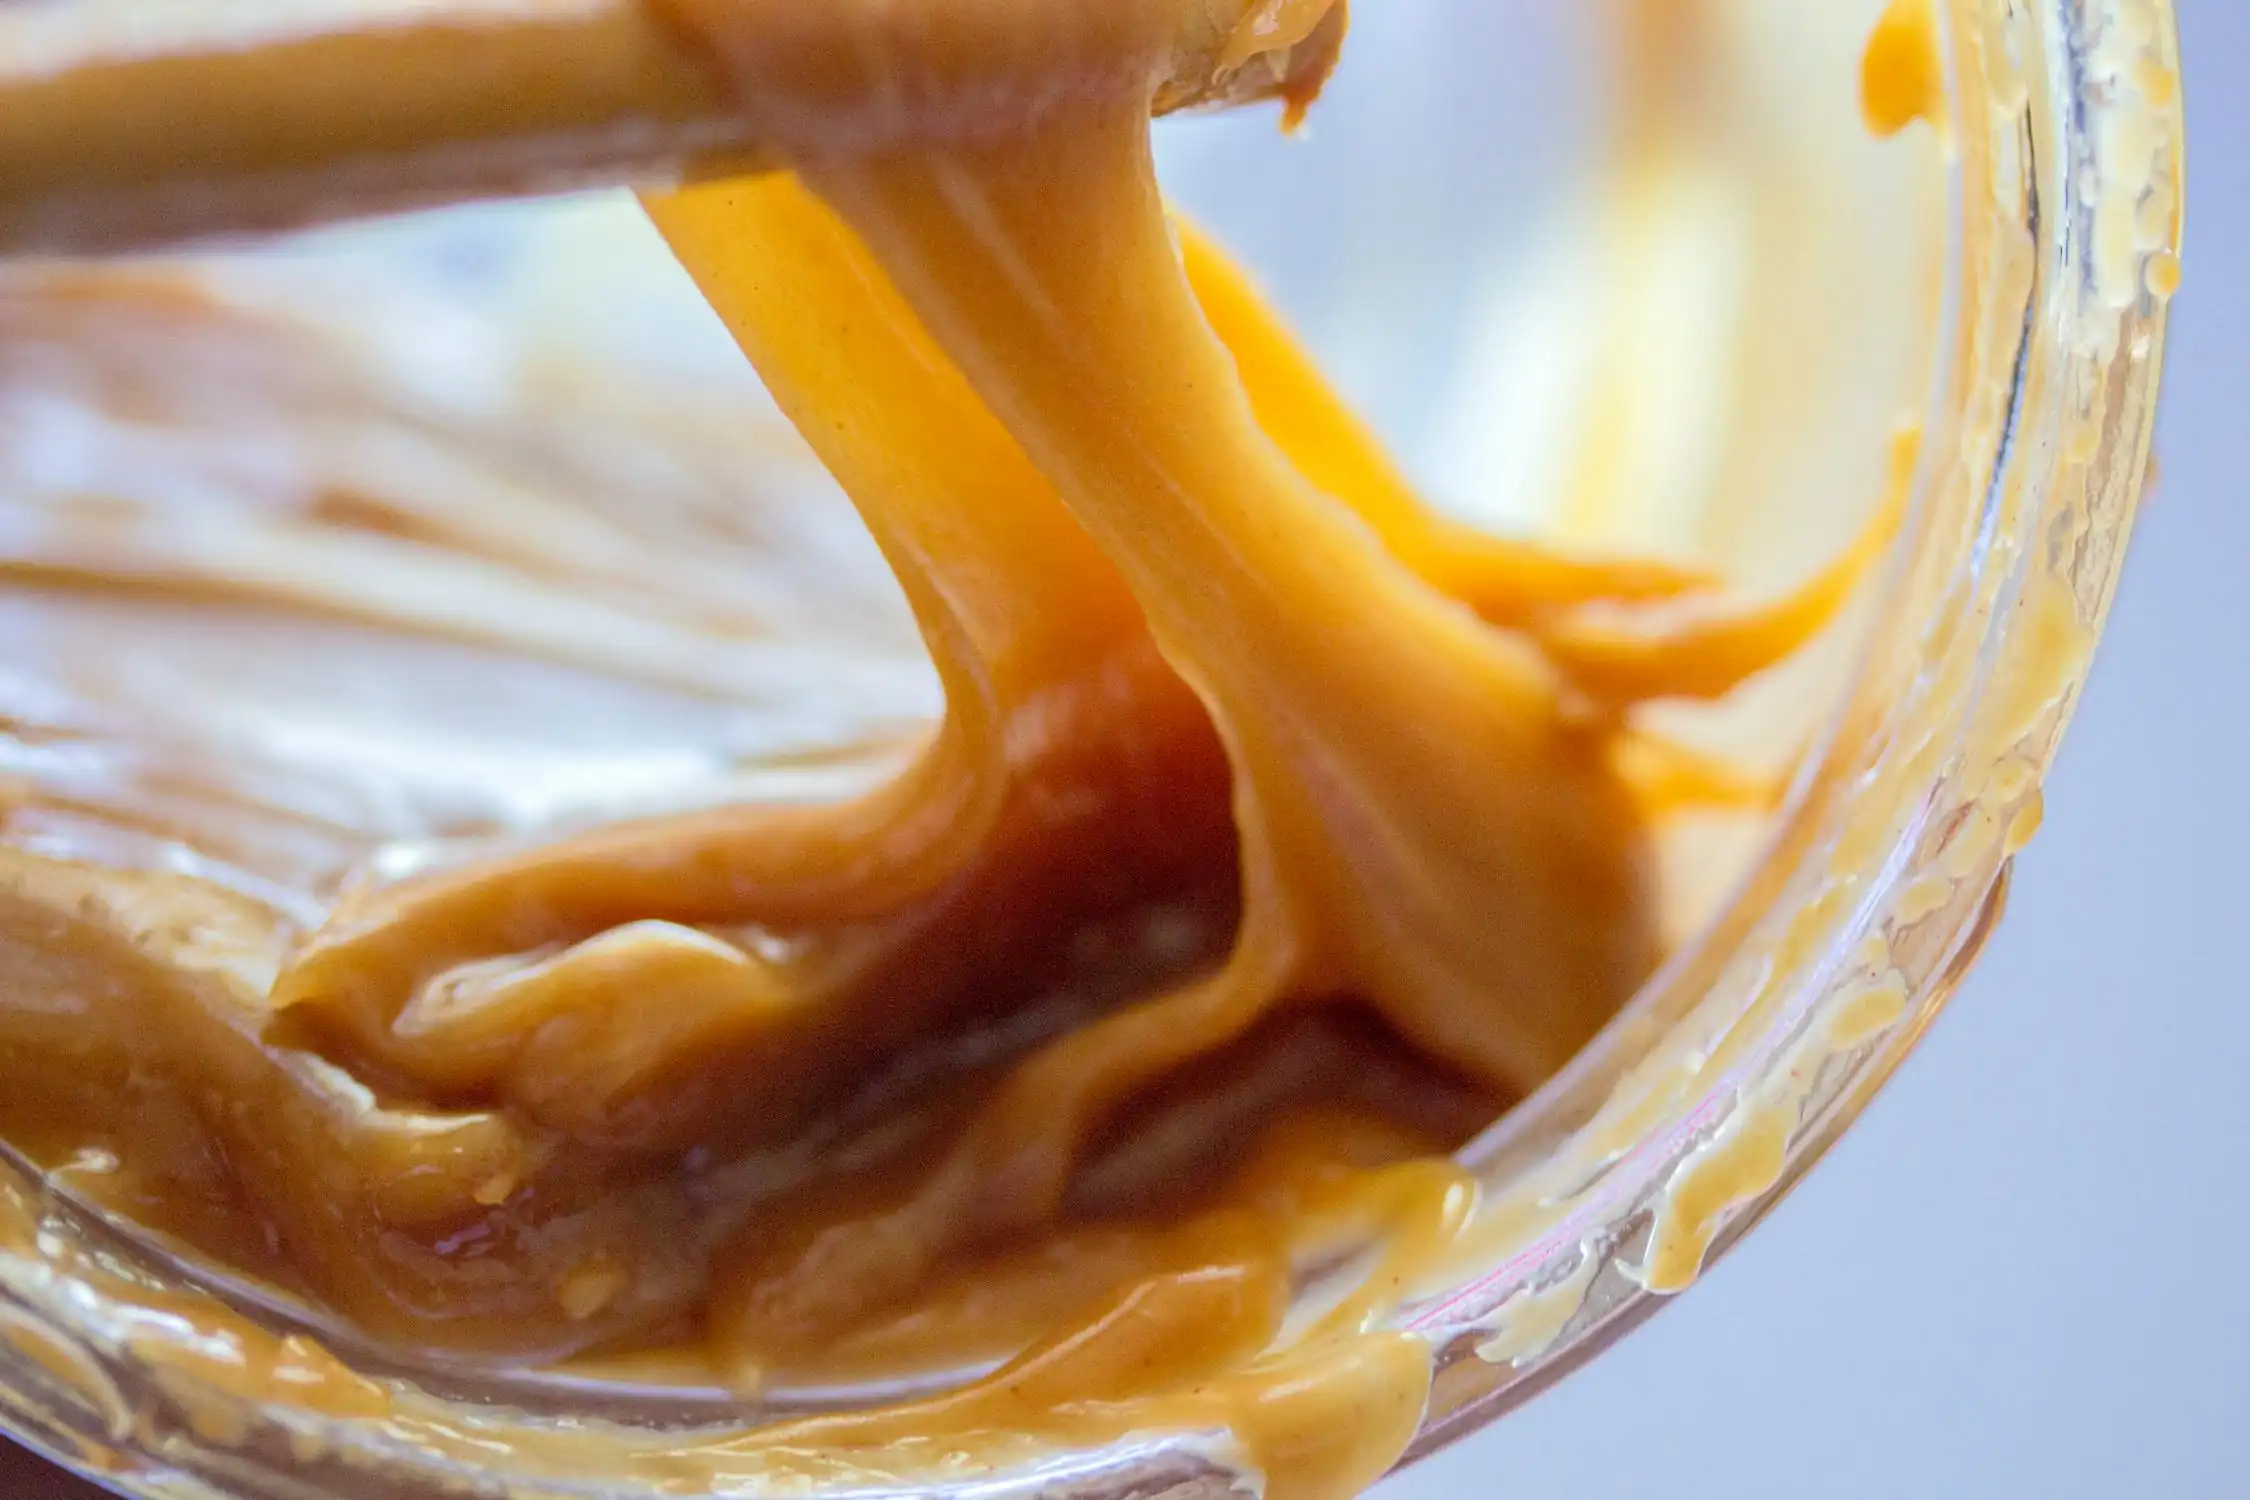
Your chocolate sauce needs real caramel for that rich, deep taste. Hot caramel mixed with warm cream forms the heart of this recipe.
You can choose between classic caramel sauce or salted caramel, depending on your preference. Salted caramel chocolate ganache adds an exciting contrast of flavors that many people love.
The classic caramel chocolate duo never disappoints either, giving you that pure, sweet taste that everyone recognizes.
The Role of Fresh Cream
Fresh heavy cream brings all these flavors together. When you mix warm cream with your chosen chocolate, it melts the cocoa butter perfectly, creating that signature smooth chocolate ganache. The cream should be fresh and cold before heating.
If you’re making caramel ganache with white chocolate, you might need extra cream since white chocolate melts differently from dark or milk varieties.
Getting the Ratios Right
For the best results, use equal parts chocolate and cream, adding caramel sauce gradually until you reach your desired flavor. This creates a ganache that’s firm enough to fill desserts but soft enough to spread smoothly.
The Recipe: A Step-by-Step Guide
Let’s begin with the ingredients for Your Caramel Ganache:
- 200g high-quality chocolate (dark, milk, or white), chopped into small pieces
- 200ml heavy cream
- 100g caramel sauce (store-bought or homemade)
- 1/4 teaspoon salt (optional, for salted caramel variation)
- 1 teaspoon vanilla extract (optional)
Now, for the steps:
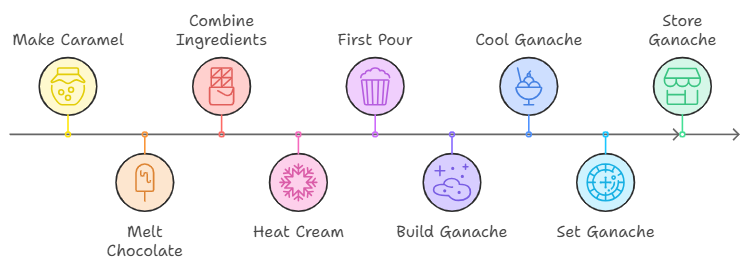
Step 1: Making Your Own Caramel
Starting with homemade caramel creates the richest flavor. Pour 200g of sugar into a heavy-bottomed pot over medium heat. Let the sugar melt slowly without stirring.
The sugar will turn golden, then amber. Once it reaches a deep amber color, carefully add 100ml of warm cream. The mixture will bubble up intensely, so stand back. Stir until smooth, then let it cool slightly before using.
Using Store-Bought Caramel
Store-bought caramel works perfectly when you need to save time. Pour your caramel into a microwave-safe bowl and warm it in 10-second bursts.
Stir between each burst until the caramel feels warm and flows smoothly. You want it fluid but not hot, about the same temperature as a warm cup of tea. This makes it easier to blend with your chocolate mixture.
A Quick Note on Temperature
Both your caramel and cream should feel warm, similar to bathwater temperature. If either ingredient is too hot, your chocolate might seize up. If they’re too cool, they won’t melt the chocolate properly.
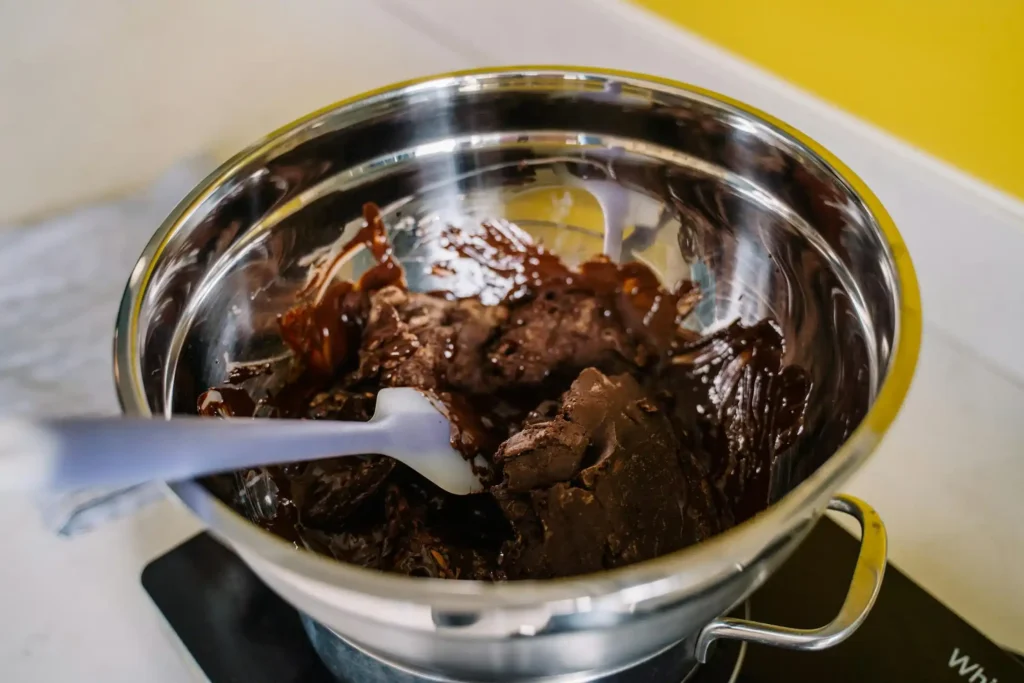
Step 2: Melt the Chocolate
You have multiple methods to melt your chocolate:
The Double Boiler Method
Fill a pot with about an inch of water and bring it to a gentle simmer. Place a heat-safe bowl on top of the pot without letting it touch the water. Add your chopped chocolate to the bowl.
The steam will gently melt your chocolate while you stir occasionally with a rubber spatula. This method gives you the most control and helps prevent burning.
The Microwave Method
Put your chopped chocolate in a microwave-safe bowl. Heat it in 30-second bursts at 50% power, stirring thoroughly between each burst. The chocolate might look like it hasn’t melted fully, but stirring often reveals it has.
Stop microwaving when small chunks remain, and stir until they melt completely. The residual heat will finish the job.
Preventing Chocolate Disasters
Water ruins melted chocolate instantly. Keep your bowl and spatula completely dry. Even a few drops of water will make your chocolate seize up into a grainy mess.
If you see steam rising from your double boiler, lower the heat. Steam can condense into water droplets and fall into your chocolate.
Also, the chocolate should feel warm, not hot, when you touch it gently. If it starts smoking or smells burnt, it’s ruined. Chocolate should never exceed a certain temperature to avoid seizing, which could be around 120°F (49°C).
You’ll need to start over with fresh chocolate. Patience pays off here. Rushing the melting process often leads to burnt or grainy chocolate.
Step 3: Combine and Stir
Now it’s time to mix everything up:
Heat Your Cream
Pour your heavy whipping cream into a small pot. Some bakers prefer double cream for extra richness. Heat it until small bubbles appear around the edges.
The hot cream should feel similar to hot tap water when tested carefully. If you’re using dulce de leche instead of regular caramel, warm it separately before stirring it into your cream.
The First Pour
Pour one-third of your hot cream mixture over your chocolate. White chocolate chips need special care here. The remaining cream will come later.
Let everything sit for 30 seconds in your medium bowl. This pause allows the chocolate and cream to start combining naturally. Use a whisk to stir from the center in small circles. Watch as a thick, glossy mixture forms.
Building Your Ganache
Keep stirring in widening circles, gradually bringing more chocolate from the edges. Don’t worry if your caramel ganache looks separated at first. Add another portion of the warm cream mixture and maintain that steady stirring motion. Pour in the final cream and stir until everything looks smooth and shiny. This process transforms your ingredients into an epic ganache.
Creating the Perfect Texture
Steady stirring prevents lumpy ganache. Move your whisk slowly and deliberately, keeping it below the surface. Your mixture should look like liquid silk.
Little lumps will eventually melt away with patient stirring. The finished ganache should slide off your whisk in a smooth, unbroken stream.
Test for Readiness
Your ganache should coat the back of a spoon evenly. Run your finger through this coating. If the line stays clean and sharp, your ganache is perfect.
Step 4: Cool and Set
You’re pretty much done at this point, but you know what they say: final touches do matter.
Room Temperature Setting
Let your finished ganache cool in your bowl at room temperature. This gentle cooling creates the smoothest texture.
The ganache will thicken slowly over 2-3 hours, turning from a pourable consistency to a spreadable one. Your kitchen temperature affects this timing. A warmer kitchen means a slower setting, while a cooler space speeds up the process.
Refrigerator Method
If you need your ganache ready faster, pop it in the fridge. Stir it every 15 minutes for the first hour. The cold temperature makes your ganache set quicker, but it might become too firm.
A fridge-set ganache often needs 10-15 minutes at room temperature before you can spread it easily.
Learn the Consistency Changes
Your ganache gets firmer as it cools because the cocoa butter in the chocolate starts to crystallize. Fresh ganache flows like heavy cream.
After an hour of cooling, it becomes more like pudding. The fully set ganache feels like soft butter. White chocolate ganache sets are slightly softer than dark chocolate versions.
Storing Your Ganache
Keep your finished ganache in an airtight container. It stays fresh for a week in the fridge. When you need to use it again, let it warm up at room temperature.
If it feels too firm, set your container in a bowl of warm water and stir until it reaches the right consistency.
Signs of Perfect Setting
Your ganache is set perfectly when it holds its shape on a spoon, but it still feels creamy when you stir it. Press the surface gently with your finger. It should leave a slight dent that slowly fills back in.
Using Caramel Ganache in Desserts
You’ve created an amazing caramel ganache. Now is the time to know how to use it:
Chocolate Treats
Caramel ganache creates unbelievably silky centers for homemade chocolates and truffles. Fill your piping bag with slightly cooled ganache and pipe small amounts into chocolate molds.
For hand-rolled truffles, refrigerate the ganache until firm, then shape it into balls and coat them in cocoa powder or chopped nuts.
Pancakes, Macarons, and Cupcakes
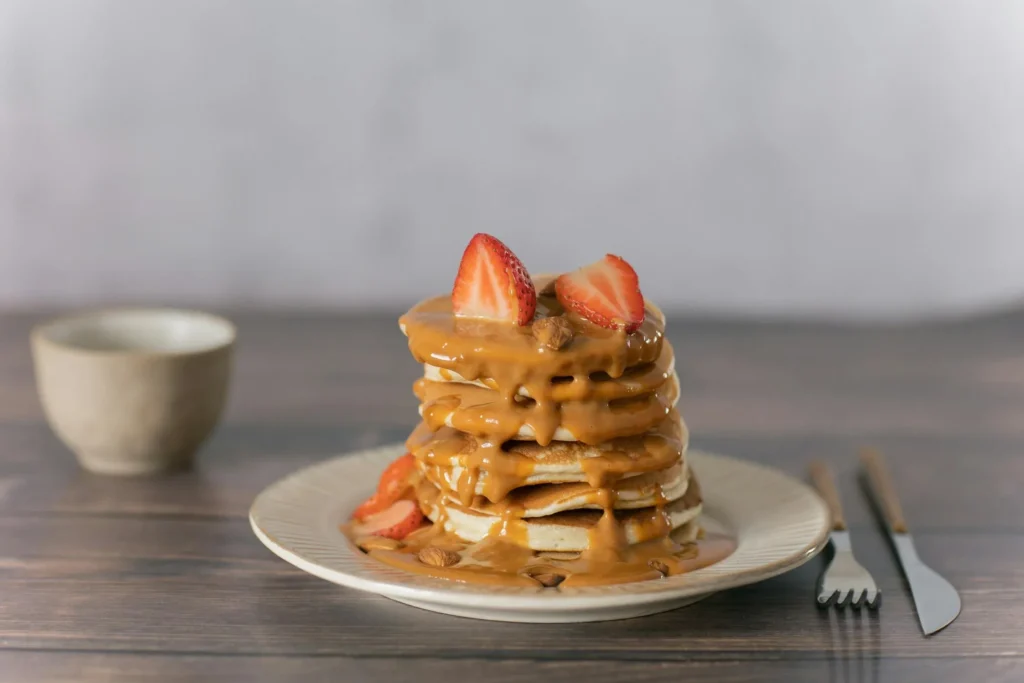
So many recipes call for caramel ganache as a frosting. Spread it between pancake layers while it’s still soft but not runny.
The ganache sets firmly enough to hold layers in place but stays creamy when you bite into it. For cupcakes and macarons, let the ganache cool until it holds its shape, then pipe beautiful swirls on top.
Ice Cream and Brownies
Warm caramel ganache makes a luxurious topping for cold desserts. Pour it over ice cream and watch it form a soft shell.
Drizzle it over warm brownies for extra richness. The contrast between cold ice cream and warm ganache creates an amazing taste experience that people who love caramel will appreciate.
Simple Garnishes
Even a small amount adds elegance to simple desserts. Drizzle thin lines over cheesecake slices. Dip strawberries halfway into warm ganache.
Add dots around plate edges for a professional-looking presentation. One batch of ganache can elevate the nutrition serving of many different desserts.
Final Words
Making caramel ganache might seem tricky at first, but with the right ingredients and proper technique, you’ll create beautiful results every time.
Keep practicing with different chocolates and caramel types until you find your favorite combination. Soon, you’ll discover why this classic filling has earned its place in professional and home kitchens worldwide.